Режим работы пункта самовывоза:
Пн-пт 10:00-21:00, сб-вс 10:00-19:00.
Колл-центр работает с 10 до 18 по будням.
- Описание
- Характеристики
- Сопутствующие товары
- Отзывы (6)
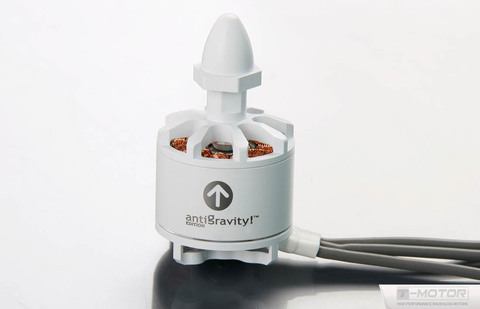
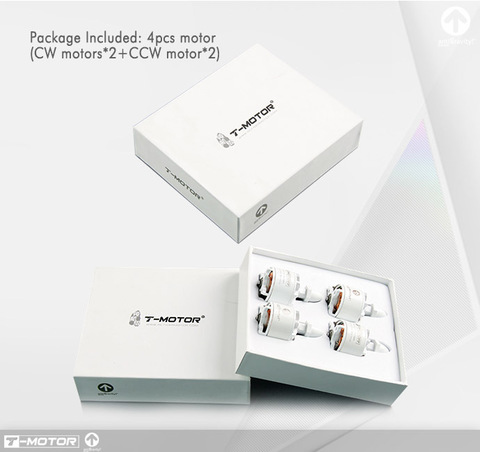
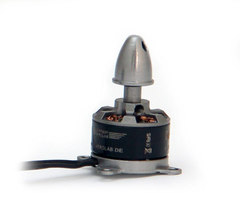
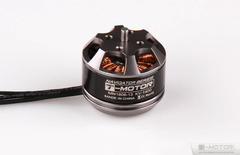
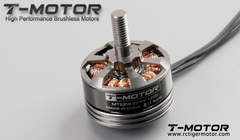
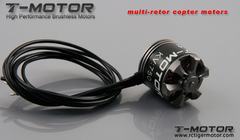
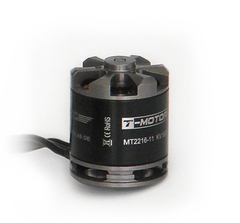
Двигатель бесколлекторный белый T-Motor MN2214 KV920 (комплект)
Tiger Motors - признаный лидер в производстве моторов для мультикоптеров
ВНИМАНИЕ! Данный товар снят с производства.
Актуальный ближайший аналог:
T-Motor Air Gear 450 (комплект) v2

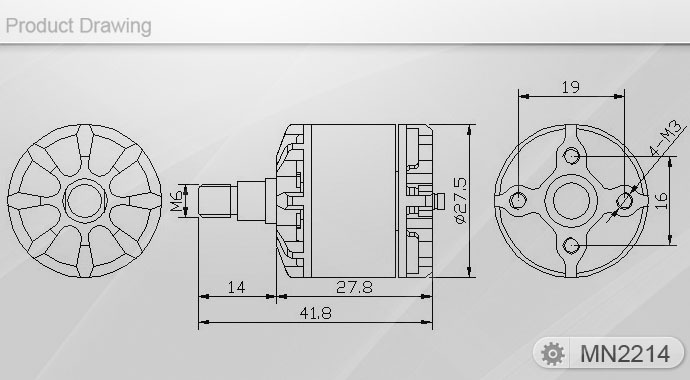

| KV: | 920 |
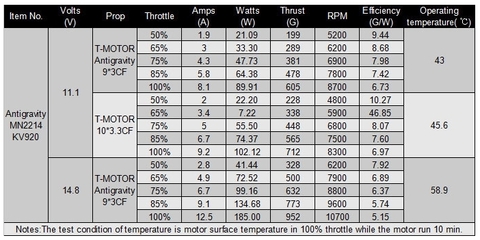
| Максимальная тяга: | 952 гр |
| Производитель: | T-Motor |
| Пропеллер: | 9" , 10" |
Отзывы
56
-
D. Tu 08.11.2017 22:20I bought these 920KV motors from T-Motor to upgrade my DJI-Phantom. The installation was easy but be careful to read the instructions on clock-wise (CW) and counter clock-wise (CCW) wiring. I'm pleased with the performance and the pitch of the motor is also quieter. I would recommend this upgrade if you want to install a gimbal on your Phantom. Otherwise, the stock motor will do the job as well.
-
jonathan 08.11.2017 22:20Installed on a Cheerson CX-20 with amazing results. Took me some time figuring out the wire configuration due to its inverted wires. Once everything was well installed, I proceed to do a test flight, and my first impression was that T-Motors worth every penny. My quadcopter feels more powerful and my flight time (using 8045 props) was two minutes more than using factory motors. I can see how my CX-20 responded to a 1.2Kg payload like nothing on it. I recommend these motors. My T-Motor 9x3 propellers are on their way, and I can't wait to see how well this setup could benefit my flying project. One more thing. These motors are compatible with every 8mm center shaft hole and selftighing DJI style propellers.
-
ryan 08.11.2017 22:19"They didn't come with screws so order those too if you need them. Also I installed them in my phantom 1..... By the instructions exactly, and I literally had to go back and resolder to reverse the polarity on all of them, they spun backwards! And I did follow the instructions right they were pretty clear. Turn it on when you install the first one to check that it spins correctly!
Other than that, fantastic motors, great power and smooth as glass, nice look too! Highly recommend this upgrade." -
chicagodave 02.11.2017 21:05"These are a nice upgrade to the DJI phantom original motors. They definitely add pep to your flight without a significant decrease in flight times.
If you don't do electronics repair work or are uncomfortable soldering things, you might consider having a friend do the upgrade for you since it does involve soldering critical components in your copter.
Here are some tips you might find handy while doing the upgrade:
1. You need a good soldering iron that puts out a lot of heat
25 watts or better. The solder on the phantom motor controllers is hefty
2. You need a desoldering tool to get rid of the old solder
These connections are critical so you need to clean the connector on the board before soldering anew. I like the big blue ""pump"" style desoldering tools - usually cost you under $10.
3. Take a picture of your Phantom opened up BEFORE you start changing out the motors
You might get a bad motor or screw something up. If you have a good photo of how everything was wired with the stock motors you can easily get back to a known-good setup. Keep the photo around just in case you want to go back to the stock motors later. Make sure all of the arms and the wiring for each motor are visible.
4. Use some tape to label each arm with a number and motor direction
With the housing removed you don't have an easy view of the motor direction indicators. This will help you keep track without having to put the housing back on.
5. It's easy to screw up the motor directions because the wires are not color-coded
If you look at the wires on your new motors they line up in a row just after they come out of the base. This orientation is the same on all of the motors but keep in mind it's DIFFERENT than the stock DJI motors. Follow the instructions you get with the motors to the letter and you should be fine. Follow the advice on TESTING - just power the copter up after you do the first one and turn on the motors without the rotors mounted. If you labeled the arms as recommended in #4 it'll be easy to see if the new motors are spinning correctly.
6. Unscrew the circuit board from the housing to solder the connections
It's way too tight to do it with the circuit board fastened to the Phantom, so don't be tempted. One of those ""third hand"" devices with the arms to hold stuff in place will come in handy. The screws to remove the circuit board are in the plastic cover for the lights. Be careful, these are tiny screws and easy to lose.
7. Make sure you use good soldering techniques
The connection to the circuit board is flush-mount and big, so you'll need a decent amount of solder to make the connection properly. Use new solder, make sure the iron is plenty hot. Heat but don't overheat the circuit board, wires and solder. After applying the solder don't touch ANYTHING for several seconds to avoid having the solder joint go cold on you. Once it's completely cool give the wire a bit of a tug to make sure it set properly. Check for splash onto adjacent connectors. Repeat.
8. Take your time and REMAIN CALM
If you don't do this type of work every day it can be a bit stressful. I'm fairly experienced at doing electronics repair and it took me around an hour and a half from start to finish." -
Anonymous 02.11.2017 21:01"Unos motores realmente potentes, que marcan la diferencia con equivalentes chinos. En 3S vuelan muy bien, y en 4S, simplemente, son un espectáculo.
Con unos ESC de 20A (BLHeli, genéricos) y un BEC externo, no he tenido mayores problemas en un 250." -
Big Sur Steve 02.11.2017 21:00"Recently I purchased a set of T-Motors for my Phantom 1.2. I use a heavy gimbal and wanted better flight performance in addition to longer flight times. The T-Motors would deliver on both. The one thing I dreaded was trying to solder the the motor leads to the circuit boards where the motor connectors are located. It's a small space and one slip of the soldering iron would mean getting a new circuit board.
I decided to wire the motors in using fully insulated, crimp on, wire connectors sold by Radio Shack. The advantages of using these quick disconnect power connectors is that no soldering was required and that motors can be easily removed for servicing. If you are interested in using wire connectors for your motors, here's a description of how I did it:
1. Wire connectors are 1/4 inch for 16-14 gauge wire. I got three packs of five male and female connectors through Radio Shack for about $10. The connectors are fully insulated and the part number through Radio Shack is 6403133.
2. The connectors are fairly long to fit the space provided in the arms of the Phantom, so I trimmed off the excess insulation on the connectors where the wire enters the connector.
3. First, I cut the wires from the original motors leaving about two inches of wire remaining attached to the original solder points for the motors. After stripping the ends of the three wires leading from the solder points, I crimped on three female connectors.
4. Next, I plugged the male connectors into the three female connectors. After this, I measured the amount of wire needed to be trimmed from the T-Motors to easily reach the male connectors, made my cuts, stripped the ends, and crimped the wires into the male connectors.
5. Since the T-Motors don't use colored wires, special attention to the instructions needs to be made when installing these motors."

